Showing posts with label racks. Show all posts

Wednesday, January 26, 2011

Racking Your Brain!

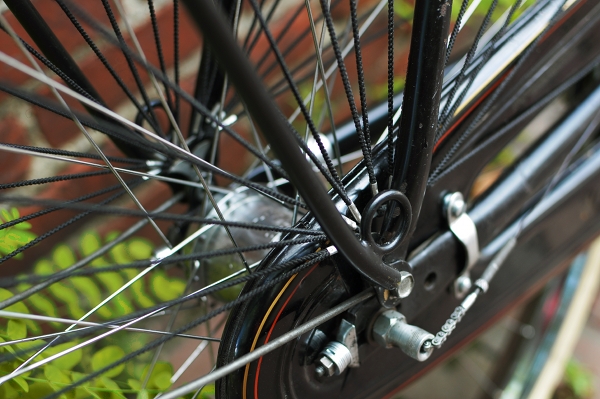
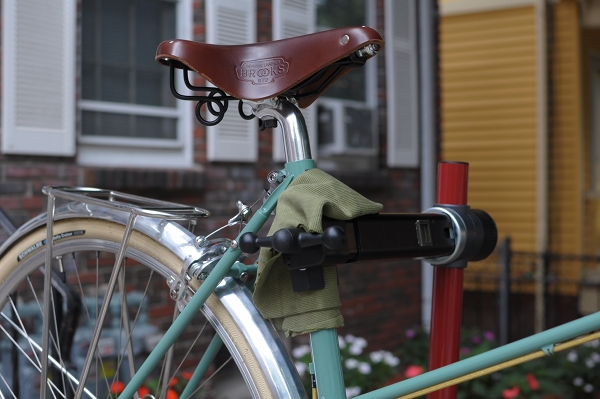
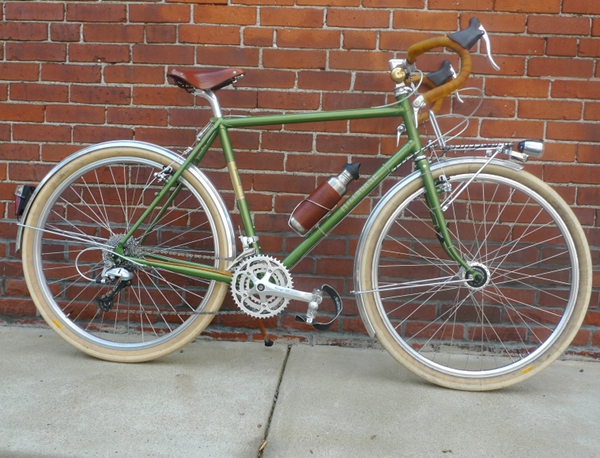
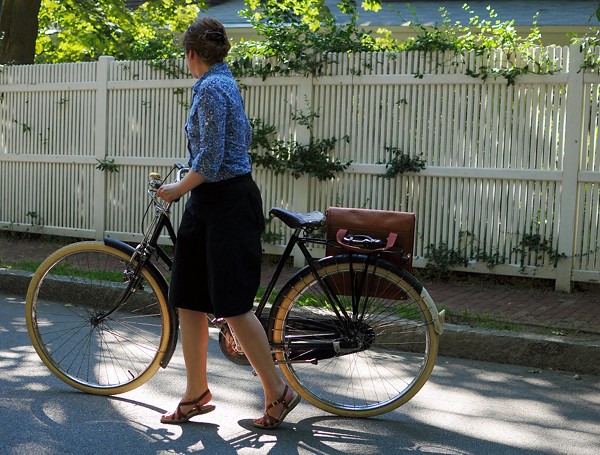
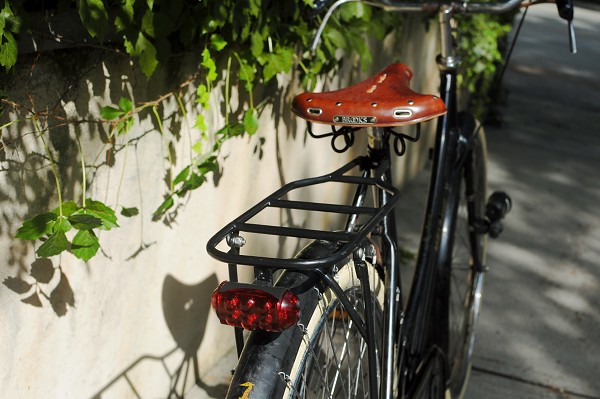
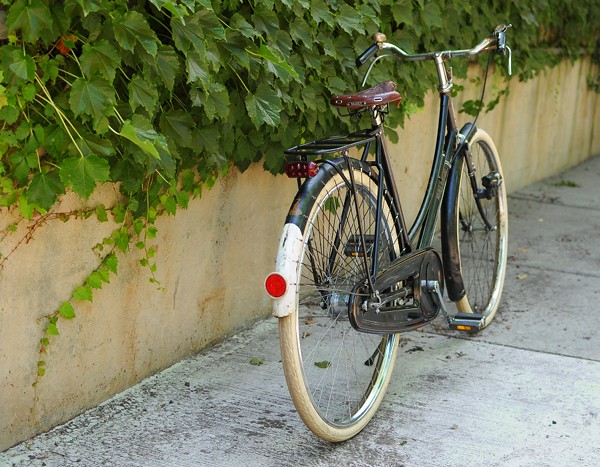
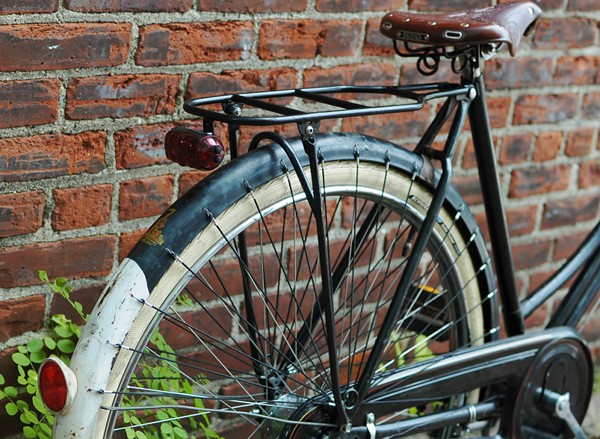
For the past month, I have been working on a rear rack prototype for the Bella Ciao "Superba" (which will look nothing like the Roadster rack above), so racks have been on my mind lately. I've been checking out the racks on practically every bike I see, and also paying attention to how I typically use mine.

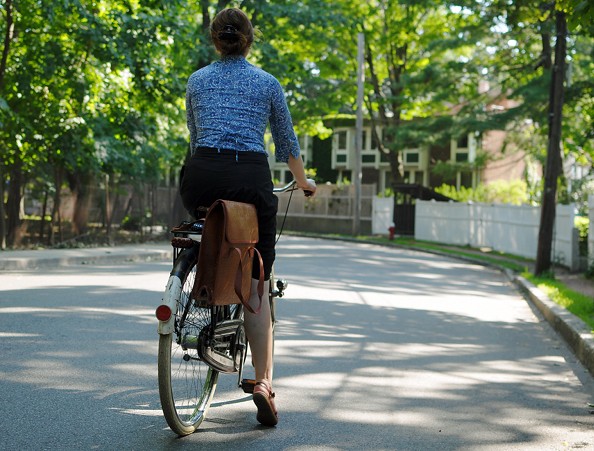
Although on occasion I will carry a substantial amount of weight on the rear rack of my bike, more often than not all I carry is a single pannier or bag. Sometimes there are groceries and packages involved, and even those often fit into a single large pannier. Once in a while, I will strap an item or two to the top of the rack, but it is not an everyday occurrence. When I look around at other cyclists, at least in the Boston area, I see mostly the same: One or two panniers attached to the side of the rack, or a bag strapped to the top. If I see more than that being transported (on a regular bike, not an Extracycle or a "utility bike"), it's an anomaly.

What about you? Be honest - how much do you really carry on your bicycle's rear rack on a typical day, assuming that it is a standard city bike?


Looking at other cyclists in the Boston area, I've also noticed a gender difference in how much stuff cyclists carry - with women typically having fewer things strapped to the rear rack than men. But there could be many factors accounting for this, and I am not sure how typical this trend is overall.

In addition to how much stuff I carry on the rear racks of my bicycles, I have also been trying to note in what ways I find them convenient versus not. For example, I often lament the lack of bungee cord attachment points on my Gazelle's rear rack. Also, not all racks are compatible with all pannier attachment system - the spacing of the slats on some racks can interfere with the spacing of the hooks. What major complaints, if any, do you have about the rear rack on your main transportation bicycle? You can select multiple items on this one:


Having discovered how to embed these polls and surveys, I admit it's fun to set them up and then look at all the results - but hopefully also useful. I will soon be receiving a sample of the "Superba" rack prototype, and from there it should be just a matter of time until we're done. These racks will fit a standard 700C wheel bike, and regardless of whether you are interested in a "Superba" bicycle, the racks may be available for sale on their own. They won't be sold by me, but I will keep you posted - and your input will certainly be valuable.

Friday, October 8, 2010

Added Benefits: Bicycle as Shopping Cart

One side effect of owning a bicycle with a large carrying capacity, is getting accustomed to having a "shopping cart" wherever you go. As a result I often ride my bike even to the grocery store that is within walking distance from my house, because it is easier to transport the purchases that way.

Interestingly, some of my friends who've recently had babies say the same thing about strollers: They've gotten so used to being able to hang their handbags and shopping bags on the stroller, that going out without it and actually having to carry all that stuff feels like a hassle. I suggested a bicycle for those times they are without baby and stroller, but they don't seem convinced that it can provide the same carrying capacity (plus, of course "it's not safe to ride a bike in the city"). Maybe one of those bicycle + stroller in one contraptions would do the trick.

Wednesday, September 22, 2010

Hard Core Bicycle DIY: Is It Worth It?

Over his year and a half of adult bicycle ownership, the Co-Habitant has progressed from not knowing much about bicycles at all, to completing two full bicycle builds from scratch. In the course of that time, knowledge was gradually gained, tools were purchased one by one, and increasingly complicated procedures were mastered. I helped when I could, but mainly the mechanics are his thing. I will stick to writing about it, thank you.

It certainly would be nice to write an inspiring post about what a rewarding and empowering experience it is to do one's own bicycle builds and overhauls. But the truth is, that I do not necessarily believe that to be so - which is why I do not do it myself. Assuming that we are speaking of serious DIY here, beyond simple maintenance, these projects require the investment of considerable amounts of time, energy and money. At the risk of coming across as discouraging, here is how I see it:
It is worth doing your own bicycle mechanics if...

...You truly enjoy it and look upon it as a hobby to fill your spare time with. That is the #1 reason in my view. If you do not enjoy it, the process can be extremely frustrating. Also, keep in mind that like any hobby, this one will require spending money on supplies - some of which will be wasted on trial and error. You will surely ruin cables and cable housing, possibly even components. You will order the wrong parts and will need to return them. Sometimes you will only realise that they are the wrong parts after you try to install them and scratch them up - making returns or exchanges impossible. You will have to make multiple, unexpected trips to bicycle shops and hardware stores for things you will suddenly realise you need. All this better be enjoyable, or it makes no sense.   

...You own multiple bicycles, plan to build up multiple bicycles, and/or foresee yourself frequently changing components on your bicycle(s). Only then does it make financial sense to invest in the many tools you will need to do your own overhauls and builds - and to go through the learning process before you actually get good at it. Things like a proper bike stand and a standard tool kit will already cost more than most bicycle shops charge for a bike build. And then there are the less common, but often necessary tools, such as headset presses, cotter presses, bottom bracket tools, dremels, and so on, that raise the cost of DIY even higher, if you properly account for it all. 

...You are good at bicycle mechanics. If not, then it is just plain dangerous to work on your own bicycle. While some mistakes make for good learning experiences, others - especially when it comes to brakes, steering and the drivetrain - can have disastrous consequences. 

...You are, at least to some degree, a control freak and like everything about your bicycle to be "just so". Sure, a bike shop may do an all right job. But you would just feel better if you trued those wheels or tensioned that chain or installed that bottom bracket yourself. 

If all of the above apply, then by all means - full speed ahead with the DIY. You will enjoy it, and it will be rewarding. However, if your primary goal is to save money, I would suggest you think twice. It is not just about buying all the necessary tools that you may seldom have occasion to use again, but also about time. While on the surface it may seem that I would save money by doing a bicycle build myself, in economic terms this is actually untrue. In the time it would take me to build up a bicycle, I could instead take on an extra freelance project in my own line of work - and the income from it would be greater than the money I'd save by building the bike myself. Financially speaking, the wise thing to do would be to allocate that work to an experienced mechanic while using the time saved to earn money in my own field of expertise.

I am fortunate to live with someone who enjoys working on bicycles (see his description of his travel tool kit!) and is quite good at it. I am also fortunate that he had some time off this summer and actually wanted to spend it working on bikes. Now that he has accumulated all the tools he needs and sufficient experience, we can do pretty much anything bicycle-related at home - and I appreciate that very much. But I by no means think that it is every "real cyclist's" duty to be able to do these things on their own, just like I do not think it is every "real home owner's" duty to be able to do their own plumbing and electrical work. If you are passionate about bicycle mechanics and are good at it, then certainly it can be fun and rewarding. Otherwise, it is best left to the experts - for the sake of your nerves and your wallet. 

Wednesday, September 8, 2010

Front Racks and Elegant Light Placement: Mission Impossible?

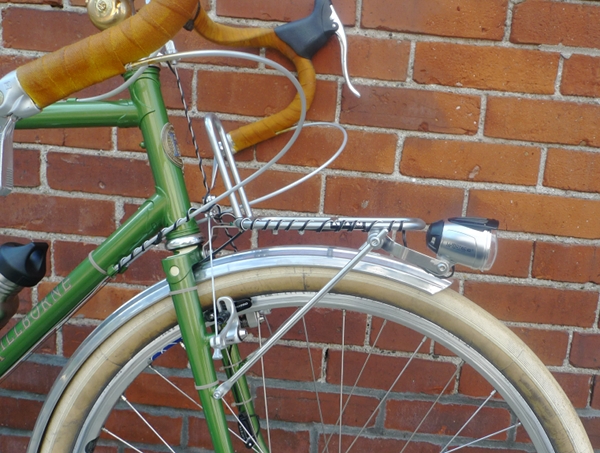
In preparation for the eventual acquisition of a handlebar bag, Graham has now been fitted with a front rack (Nitto M-18 from Renaissance Bicycles). I have been planning to purchase a front rack for a while, yet had no idea that there were so many choices and that the whole thing is so complicated.

To determine which front rack your bicycle needs, several things must be taken into consideration:

First off, do you want the rack to mount onto the fork, onto the brakes, or onto the front axle?  Okay, easy enough. The fork on my Sam Hillborne has braze-ons for a rack, so I wanted the type of rack that attaches to them.

But the decisions do not stop there:  If your bicycle's fork has braze-ons,  is their placement compatible with the length and angles of the rack's stays? Some front racks have fixed stays and the placement of the braze-ons on your fork has to match them exactly. Usually this only works when a rack was specifically designed for a particular bicycle, or if a bicycle was custom-built with a specific rack in mind. After browsing rack models until my eyes got blurry and speaking to several bike shops, I was still unable to determine for sure whether any of the racks with fixed stays would fit the Hillborne and did not want to risk ordering them. Thankfully, there are also racks with adjustable stays (like the Nitto M-18 I got) that expand to accommodate the placement of the braze-ons on your fork.

But wait, that is not all: You must also consider your brakes. Even if the rack you choose does not mount onto the brakes themselves, it can be incompatible with a given type of brakes (in particular, cantilevers) due to clearance issues. Don't forget to check up on this!

Exhausted yet? I feel spent just writing about this!  And I haven't even raised the question of aesthetics yet. If you look at the front racks closely, you will notice that some are square (like the Nitto M-18 in my pictures), while others are round. If you have a rear rack installed on the bike, it may be important to you that the two match - in other words, that both are square or both are round. So that is yet another design element to watch for.

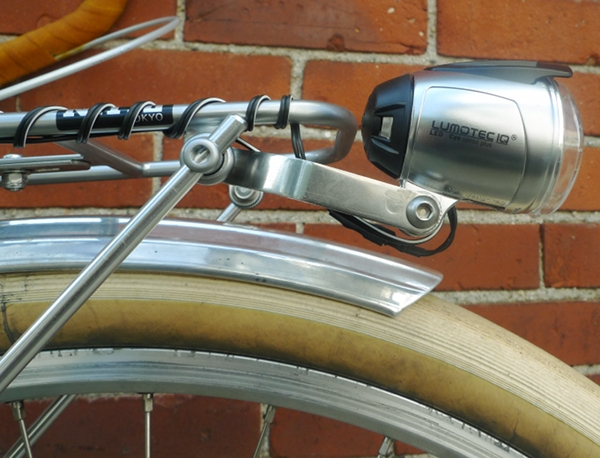
Last but not least, there is the question of light placement. Some racks are made with little braze-ons for mounting lights. The Nitto M-18 is not. So we bought a VO light mount - which is basically a small metal bracket with two holes. The size of the holes was not compatible with either the rack's or the headlight's bolts, so we had to drill them out.

With the light now successfully mounted, we are still not sure of this set-up. The bracket is made of relatively thick steel, but nonetheless vibrates slightly side to side (but not up and down) when the bicycle goes over bumps. The Co-Habitant does not think this is anything to worry about, but I am not sure that I agree.

I am also not sure how I feel about the garlands of wiring that now seem to cover the bicycle's front end like ivy. Once the handlebar bag is installed the wires on the rack will not be visible, but what about the section that curls around the shifter cable? All in all, I cannot say that this set-up can be called "elegant" and we are still considering alternatives. One thing I do like, is how far forward the light extends - this placement seems ideal for road illumination. Is it a matter of compromise, or is there a magical solution out there that I am overlooking?

...

Update: There, we fixed it!

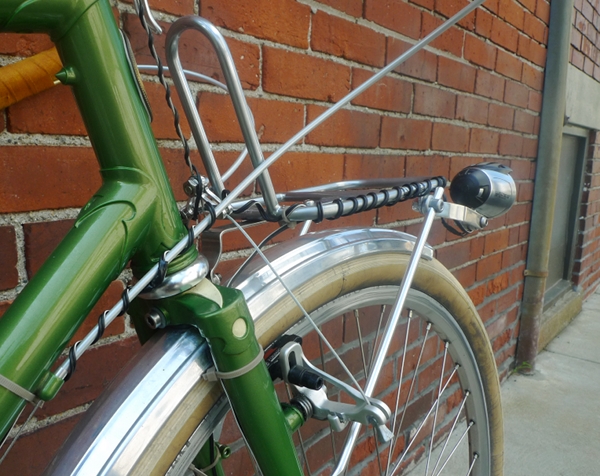
We have successfully re-routed the wiring, so that it now runs straight underneath the rack instead of coiling around it.

We have also titled the bracket down, placing the headlight a little further back, which should reduce the vibrations. I will remove the Nitto sticker when I get around to it. 

"Aerial" view.

The wires are considerably less noticeable this way, and I think the results are good.  Thanks for everybody's comments and suggestions. 

Sunday, September 5, 2010

Strange Magic! And a Saddle Conundrum

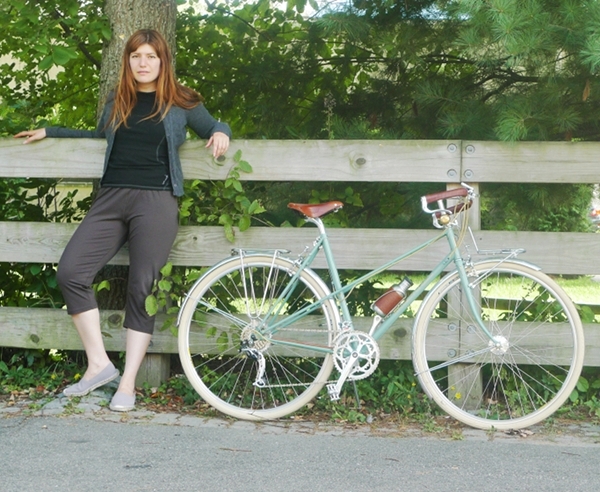
How on Earth can one bicycle handle like a stately city bike one moment, and like a fast touring bike the next? I have no idea, but I have just experienced it.

At slow speeds, the Royal H. mixte rides like a vintage 3-speed: stable, easy, upright. So nicely it performed as a city bike, that I was almost reluctant to take it on a "real ride" - having gotten used to doing those kinds of rides on road bikes with drop bars. But once out of the city, the bicycle was magically transformed into... I don't even know what, because I haven't ridden a bike quite like it before!

This beauty handled the 40 mile ride through the hills of Concord and Lexington as if it were a casual cruise to the beach. We rode fast, but I didn't feel the speed. We climbed hills, but I didn't feel the strain of the climb.

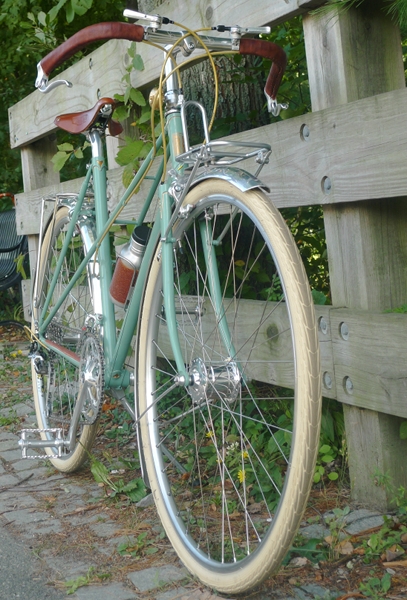
When wrapped as I have them, the Porteur handlebars offer 3 distinct positions: upright when held at the edges, slightly leaned forward when held further down, and more aggressively leaned forward when held at the corners. And the bicycle responds to changes in hand positions very nicely. The Silver shifters installed onto Paul's Thumbies (more about this ordeal later!) are as easy to use as Sturmey Archer trigger shifters. And my positioning on the bike is so utterly perfect that I feel no pressure on my hands whether I am upright or leaned forward. The ride quality - namely its versatility - is strangely magical. I have never met a bicycle that can go from stately to aggressive at the drop of a hat before.

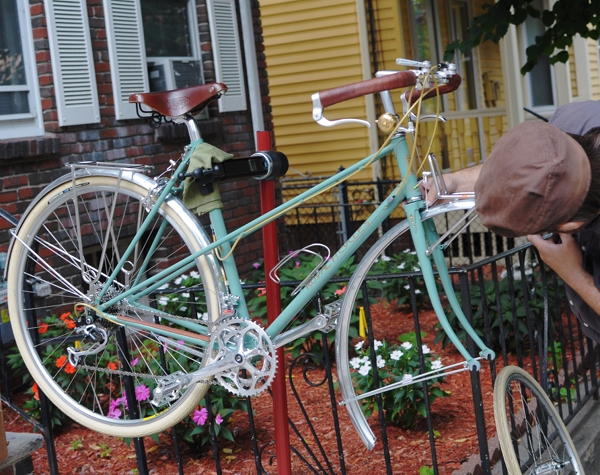
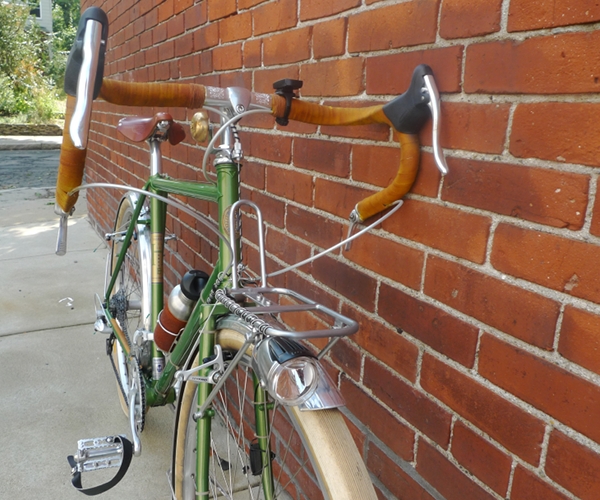
The mixte is not 100% finished yet, though pretty darn close: We still need to install the lights, and the front rack in these pictures is not the one that will ultimately be on it. But most importantly, I am not sure what to do about the saddle: Because my position alternates between upright and leaned over, it's hard to decide whether a more narrow saddle would be appropriate or a wider one, and whether springs or no springs. In the pictures, that is a Brooks B17 S borrowed from one of my roadbikes - but I am not certain that it feels right on this bike. What saddle do you have on your mixte, and how do you like it?

Tuesday, July 27, 2010

Fastrider Deluxe Shopper Pannier from Bicycle Muse

I received this Fastrider Deluxe Shopper Bicycle Pannier from Bicycle Muse (a sponsor in July-August 2010) as part of an equal value exchange. Prior to trying this bag, I was not a big fan of single panniers and have never found one that I liked. But when I received the Fastrider, I changed my mind.

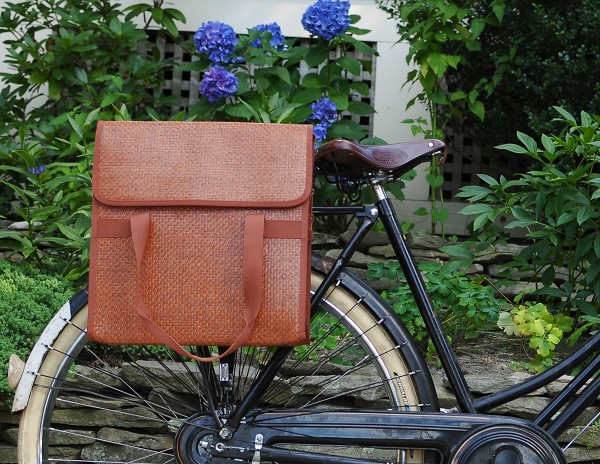
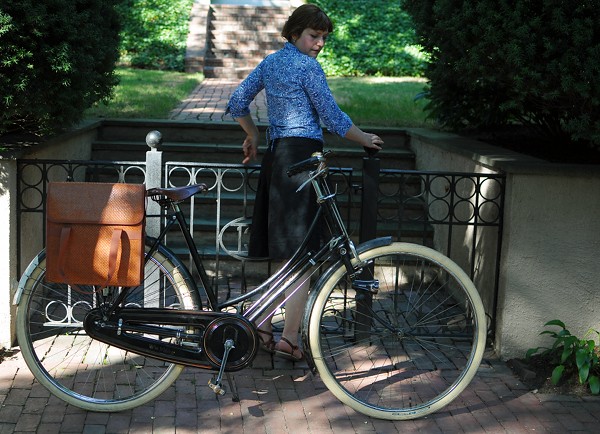
Here is a front view of the pannier. You can see that it does not interfere with the lines of the bicycle, which I like very much. The setup allows me to leave the beautiful custom rack on this bike unobscured, while enjoying the benefit of a roomy container that can be attached or removed in seconds.

To my eye, this pannier has a classic, timeless look to it that will go nicely with any vintage or classic bicycle. The style may be too quaint for some, but it suits my taste perfectly. One reason I have not been able to find a pannier I like, is that they tend to be either too industrial looking, or too "girly" - in the sense that they come in bright colours and highly stylized patterns like florals or polka-dots or paisley. Now, imagine showing up to a dinner and discovering that you are wearing the exact same outfit as one of the other guests. If it's a grey suit you are both wearing, the coincidence is not even noticeable. But if you're both wearing the exact same brightly coloured print, it's embarrassing. That is more or less how I feel when it comes to bicycle accessories, which is why I like mine to be subdued. Plus, a neutrally coloured pannier will match your outfit no matter what colour it is. A pink paisley pannier will not.

The pannier material is water-resistant woven pine. The surface is tactile, yet smooth. The colour is a warm caramel (there is also a lighter colour available). Underneath the flap (which secures with velcro strips allowing for different degrees of fulness) is a zipper opening. The flap and zipper together pretty much ensure that the closure does not let in water. (These panniers are made by the Dutch company Fastrider, so I am guessing water-proofing was a top priority.)

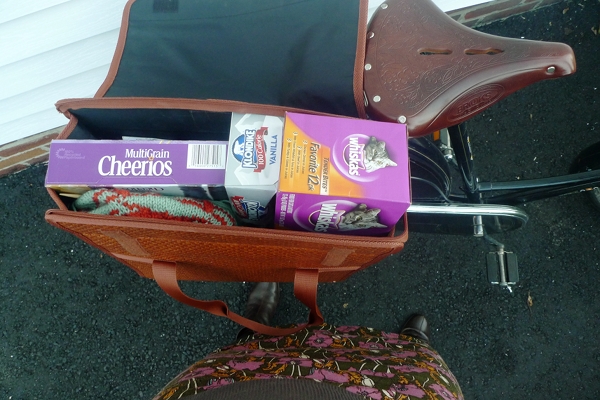
Not sure whether my pictures portray this adequately, but this pannier is huge.  Dimensions are: 15.5" width, 14.5" height, 6.3" depth. The fabric-lined interior is enormously deep, and has what I initially thought were dividers for compartments, but are in fact stiffeners (I nonetheless use them as compartment dividers and find that they work in that capacity!). There is also a large, zippered internal pocket (large enough to fit a medium notebook and other accessories) and a smaller pocket that will fit a wallet or phone. You can see how much room is left over inside the bag after I place my Macbook Air inside it. If you are compulsive about your laptop, you will probably want to get a sleeve for it, as my makeshift "dividers" do not reach all the way to the top. That is the one drawback to the design - but then, it was meant to be a "shopper,"not an office bag. Otherwise, everything is fantastic for my purposes. This bag will easily fit my laptop, work-related documents, and a few days' worth of groceries.

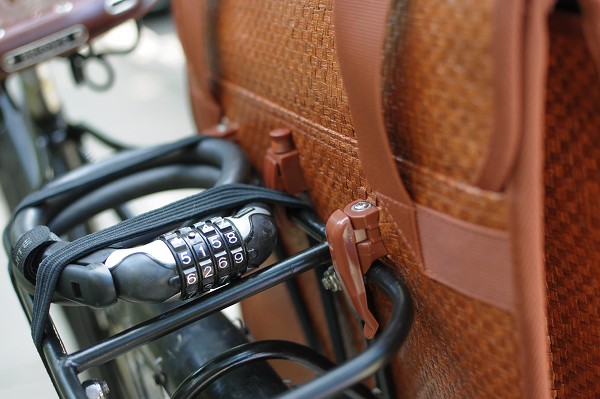
The pannier attaches to a bicycle rack with a system of 3 plastic hooks on metal spring hinges. They are quick and easy to attach and remove; the process takes just a few seconds.

Here is a close-up. The middle hook curles under to firmly clasp the rack's tubing and can be adjusted to be tighter or looser. The two outside hooks act as extra weight supports. Plastic hooks are another reason I had been staying away from single panniers - they all seem to have them. But again and again I am told that these types of hooks are safe and are designed to withstand the weight. So - fine. I like this pannier so much that I am ready to believe that. (Any words of assurance or admonition?)

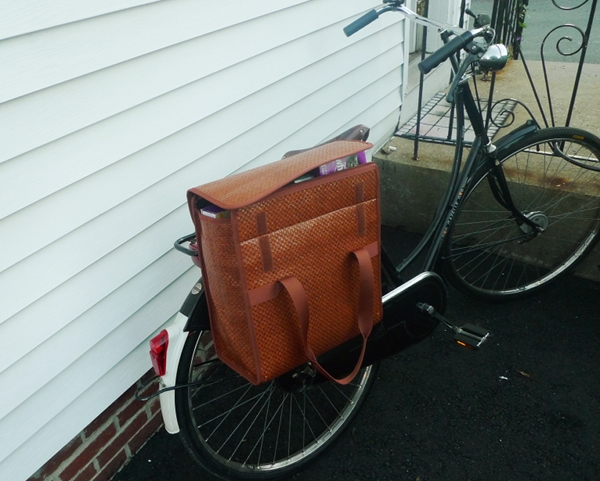
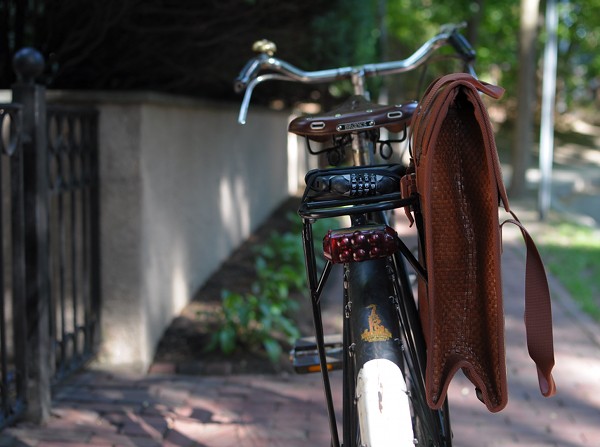
View from the non-pannier side. The handles flop to the sides, but they are not long enough to get stuck in the spokes, so leaving them that way is fine.

Pannier in motion. It attaches firmly to the rack, and there is no jiggling or movement, as far as I can tell.

It is pretty clear at this point that I love the pannier. Bicycle Muse offered me a choice of products, and I am glad to have selected this one. My plan now is to transfer the contents of my work-bag to the pannier, and share it between several bicycles. Of course, time will tell how the pannier will hold up, and I will update regarding durability once sufficient time passes.

edited to add: It is 6 months later, and I love the pannier. To my embarrassment, it took me a while to figure out that what I thought were dividers were in fact compartment stiffeners, and I've changed the text of the review so as not to mislead. Having gone through the rainy Autumn and part of winter with this pannier, I am pleased with how waterproof it is and how resistant to abuse. There is some minor fraying of the "wicker" near the hooks, but I think that is to be expected. I wish there were a smaller, equally classic version of a Fastrider pannier available in the US that I could fit on my mixte, for which the enormous shopper is too big.
Tuesday, July 13, 2010

Custom Rear Racks for Roadsters!

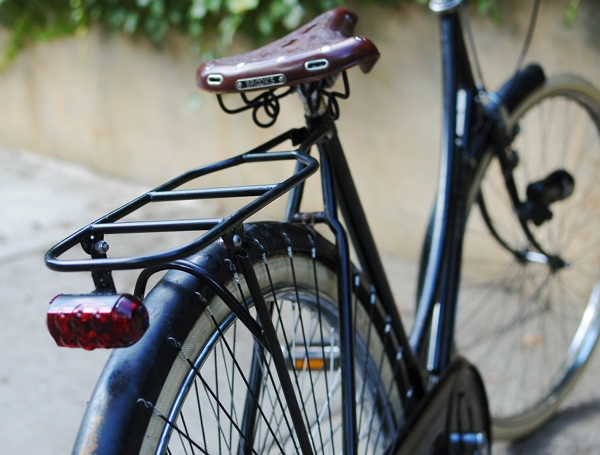
As some have astutely observed in the previous post, my Raleigh DL-1 now has a rear rack! It is notoriously difficult to find racks that will properly fit these bicycles (without slanting), and the racks that originally came with DL-1s are almost impossible to get ahold of. This here is a prototype for a custom rack by Red Barn Classic Bicycle Accessories, designed and built by metalsmith Jon Gehman with some input from me, specifically to fit the vintage Raleigh DL-1.

The Roadster Rack was built based on the dimensions of the original racks that were typically used with the DL-1, but features some delightful add-ons.

The platform of the rack is fortified with a graceful arch - something the original lacks. There is also a handy light mount at the end for attaching a tail light.

Here is a detail shot. The Roadster Rack is made of 3/8" seamless aircraft chrom-moly tubing; brazed and silver soldered. It is enamel painted, and the matte finish is a good match for the aged paint on my bicycle.

The rack also features these nice loops for attaching bungee cords. Needless to say, these are extremely useful.

Though the functionality of the rack is impeccable, I have to say that - at least for me - the practical aspects are overshadowed by the looks. I am not sure how well my pictures portray this, but the lines of the rack are mesmerisingly graceful. The arch, the light mount, the bungee loops, and even the gentle curves of the platform itself - everything is perfectly proportioned and pleasing to the eye. It makes me feel like a criminal for having now attached a set of Wald folding baskets to my rack - but hey, I needed to carry my laptop bag!

If you are interested in commissioning one of these gorgeous racks from Jon Gehman, the price is $125. And keep an eye on his website for upcoming products, which will include French chainguards and other secret things. I am collaborating with Jon on some of the designs, so you will notice that his pictures are of the prototypes I have on my bikes. However, I am not involved in the sales of the products (nor do I receive any revenue from the sales) - so please contact Jon directly if you'd like to place an order or have questions about his other products. We would also be glad to know what you think of the design, so please feel free to post your honest feedback here.